
Ever wished you could capture the magic of a thunderstorm and bring it indoors? Now you actually can! The latest viral trend sweeping TikTok, Instagram, and Pinterest is fiery cloud wall decor—a stunning mix of glowing LED lights, cotton clouds, and whimsical add-ons like butterflies or stars.
If you love cozy vibes, dreamy lighting, or just want your room to be the next social media hit, this DIY project is your answer.
Why Cloud Wall Decor Is a Total Game-Changer
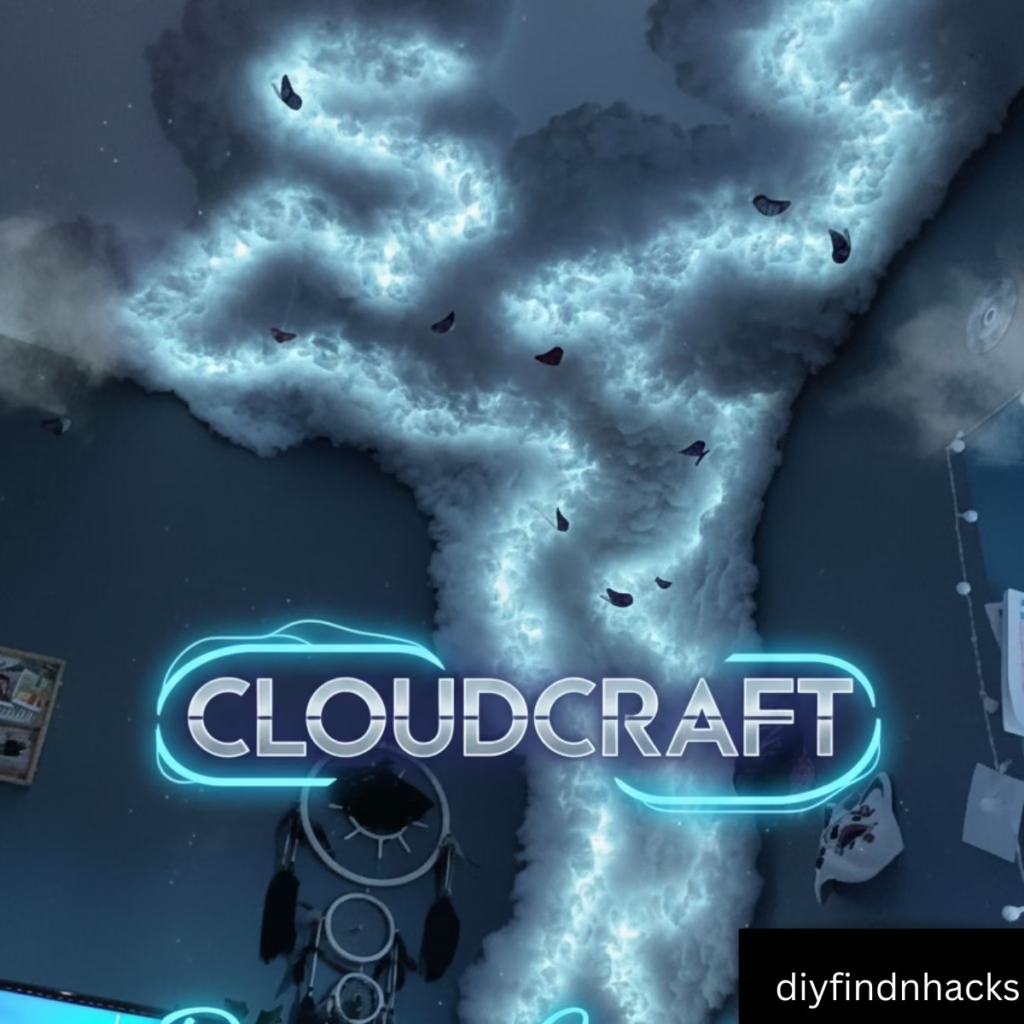
The first thing people say when they see this setup is: “Is this real?” That’s the magic of fiery cloud decor—it instantly transforms a plain wall or ceiling into something extraordinary.
Unlike regular wall art or fairy lights, this setup creates a 3D immersive atmosphere.
It doubles as mood lighting, works as a photo backdrop, and gives your room a stylish personality without spending a fortune.
Whether you’re decorating a bedroom, a gaming space, or even a cozy café corner, this idea makes any space stand out.
Materials You’ll Need
Essential Supplies
- LED Strip Lights – Choose warm orange, yellow, or multicolor options.
- Cotton Batting/Polyfill – For the fluffy cloud look.
- Cardboard or Foam Base – To stick everything onto.
- Hot Glue Gun & Glue Sticks – Your main tool for building.
- Push Pins / Command Strips – For easy wall or ceiling mounting.
Optional Add-Ons
- Decorative butterflies or glow-in-the-dark stars.
- A remote-control dimmer for mood changes.
- Blacklight paint if you want a neon glow.
Tools List
- Scissors
- Tape
- Ruler or measuring tape
Step-by-Step DIY Guide
Step 1: Plan the Shape
Before you jump in, plan your design. Do you want the fiery cloud to spread across the ceiling corner or cascade down the wall? Sketch it out roughly so you know where the LED strips will go.
Step 2: Prepare the Wall or Ceiling Surface
Make sure the area is clean, dust-free, and smooth. This helps the LED strips and cotton stick better.
Step 3: Install LED Strips
Attach the LED strips directly to the wall or ceiling in a branching “thunder” pattern. Make sure to test the lights before moving on. Pro tip: Use adhesive-backed strips for easier installation.
Step 4: Manage Wiring and Cables
Tuck away any wires neatly along the edges or behind furniture so they don’t spoil the aesthetic. Use tape or clips for cable management.
Step 5: Test Light Modes
Turn on the LEDs and experiment with modes (steady, fade, flash, pulse) before covering them with cotton. Adjust brightness and color until you’re satisfied.
Step 6: Build the Cloud Effect
Now comes the fun part! Hot glue pieces of cotton or polyfill around the LEDs. Don’t make it too even—the more layers and textures, the more realistic your “storm cloud” will look.
Step 7: Add the Fiery Glow
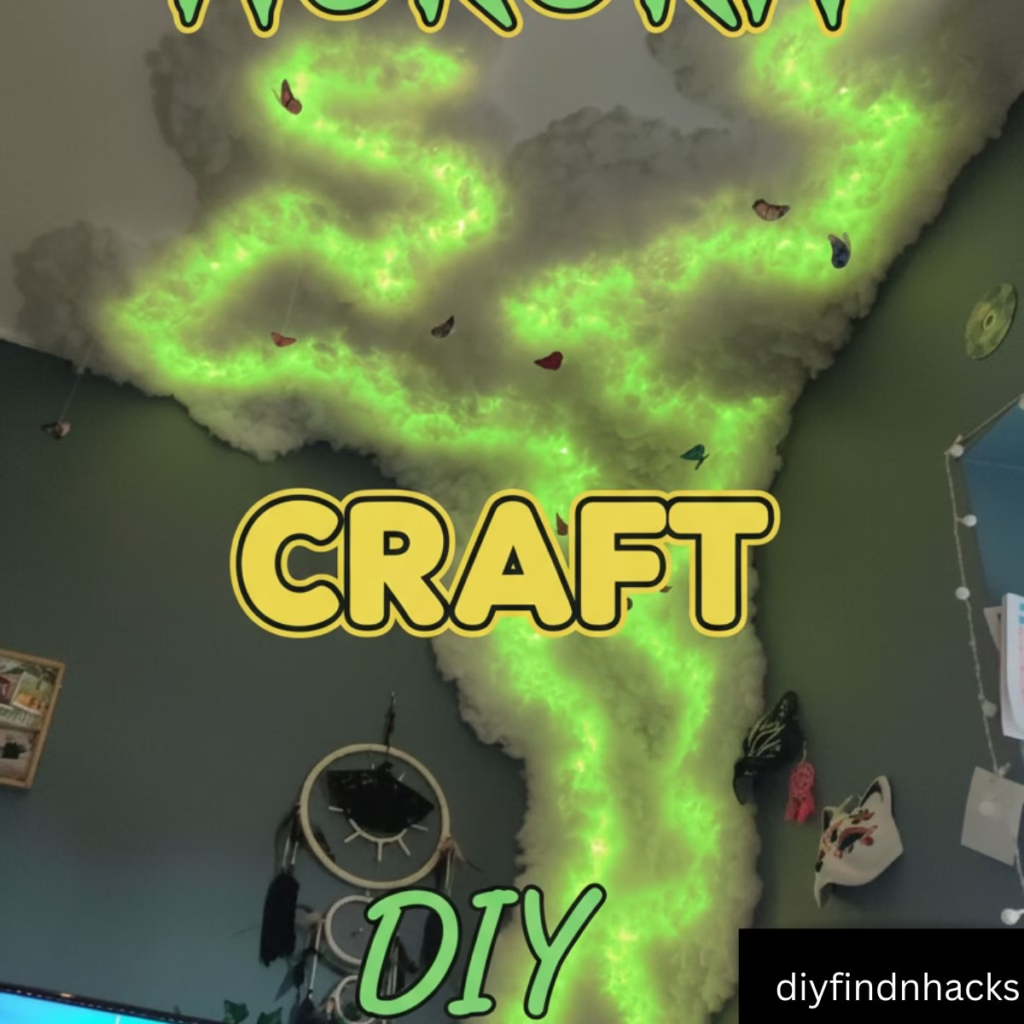
Set your LEDs to orange, yellow, or red to create that fiery lava-cloud effect. For added drama, experiment with fading or pulsing light modes.
Step 8: Decorate & Final Touches
Stick on a few butterflies, tiny stars, or even paper birds to make the scene look alive. With a remote-controlled dimmer, you can adjust the mood from cozy sunset vibes to full fiery storm.
Step 9: Troubleshooting
If lights don’t turn on, check connections or replace the adapter. If cotton starts falling, reattach with glue or pins.
Step 10: Cleanup and Maintenance
Clean up glue strings, extra cotton, and leftover packaging. Occasionally fluff or replace cotton if it gets dusty.
Step 11: Storage or Removal
If you want to keep this as a seasonal décor, carefully remove the cotton and LEDs. Store them in a dry box for future use.
Step 12: Photo/Video Documentation
Don’t forget to take pictures or videos! This décor is made for Instagram, TikTok, and Pinterest. Share your DIY masterpiece and watch the likes roll in.
Styling Ideas & Variations
- Fiery Lava Cloud – Use red-orange LEDs for a volcanic eruption feel.
- Stormy Lightning Cloud – White and blue LEDs mimic lightning.
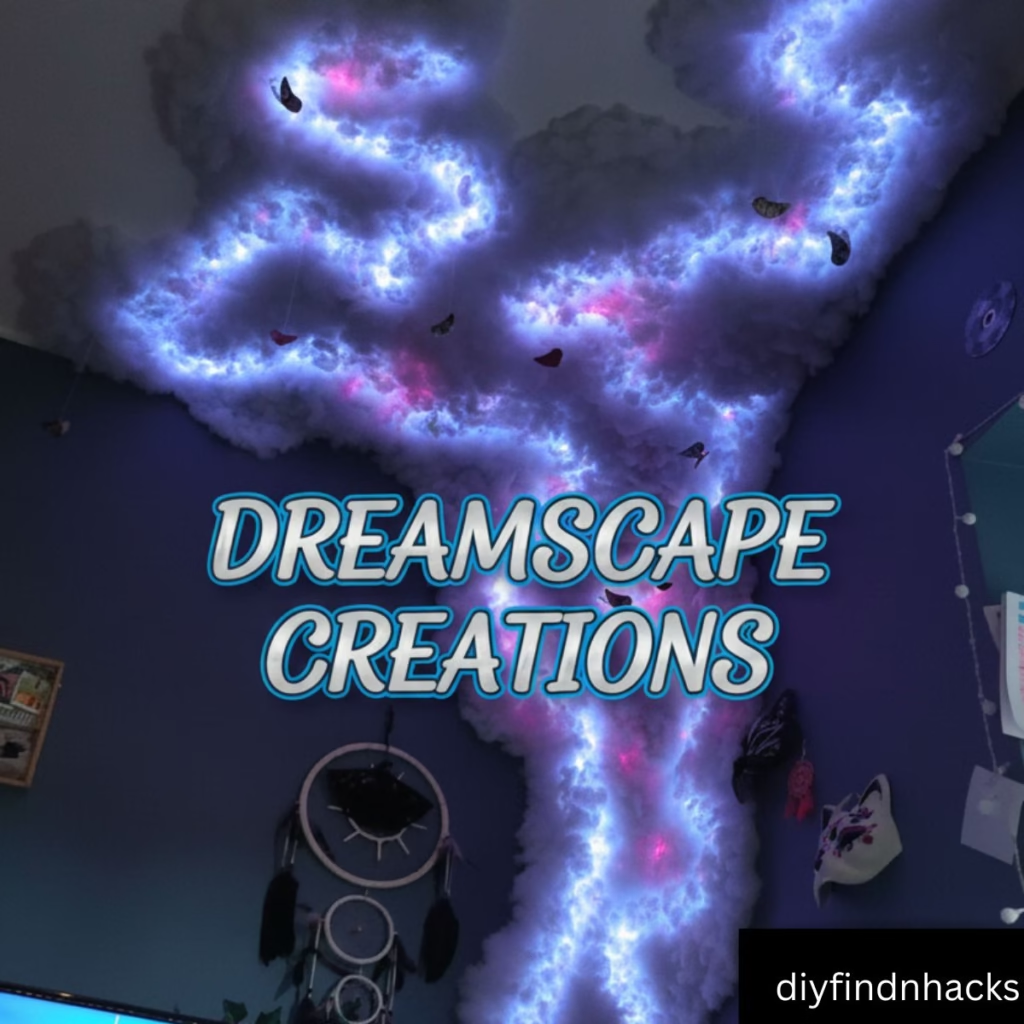
- Galaxy Cloud – Add purple and pink LEDs with tiny star decals for a cosmic look.
- Aurora Borealis Cloud – Mix greens and blues to recreate the Northern Lights.
Each variation completely changes the atmosphere, making this project endlessly customizable.
FAQs
How long does it take?
Around 2–3 hours, depending on the size.
Can I remove it later without damaging my wall?
Yes, if you use command strips or push pins instead of permanent glue.
Is it safe to keep on overnight?
Yes, as long as you use LED strips and not traditional bulbs.
Conclusion
This DIY fiery thunder cloud wall isn’t just décor—it’s an experience. It’s cozy, it’s dreamy, and it’s guaranteed to make your room the most Instagrammable spot in the house.
Best of all, it’s easy enough for anyone to try and cheap enough to fit almost any budget.


