
Car lovers don’t just live for the roar of an engine or the sleek lines of their dream ride—they also crave unique ways to bring that passion into their everyday spaces.
One of the coolest new trends blending home decor and automotive love is the DIY car spoiler shelf. Yes, you read that right.
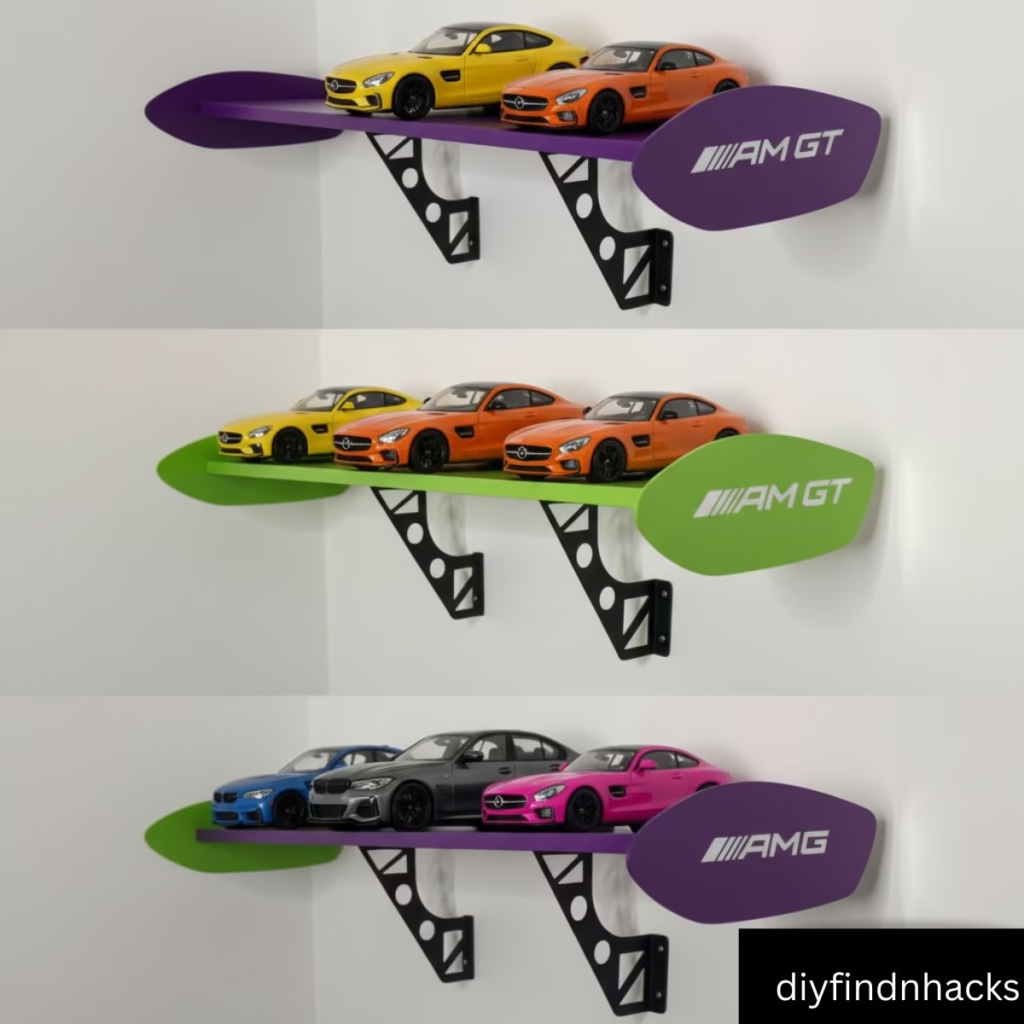
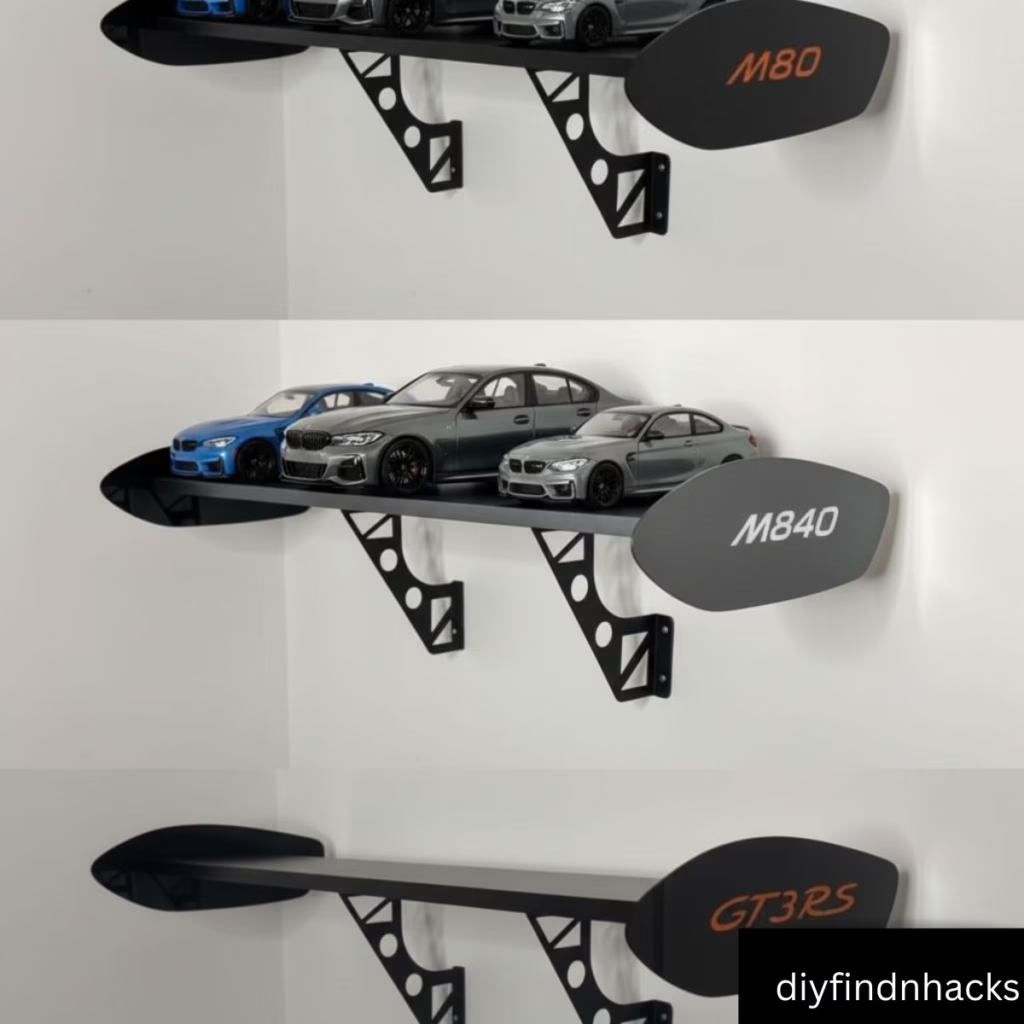
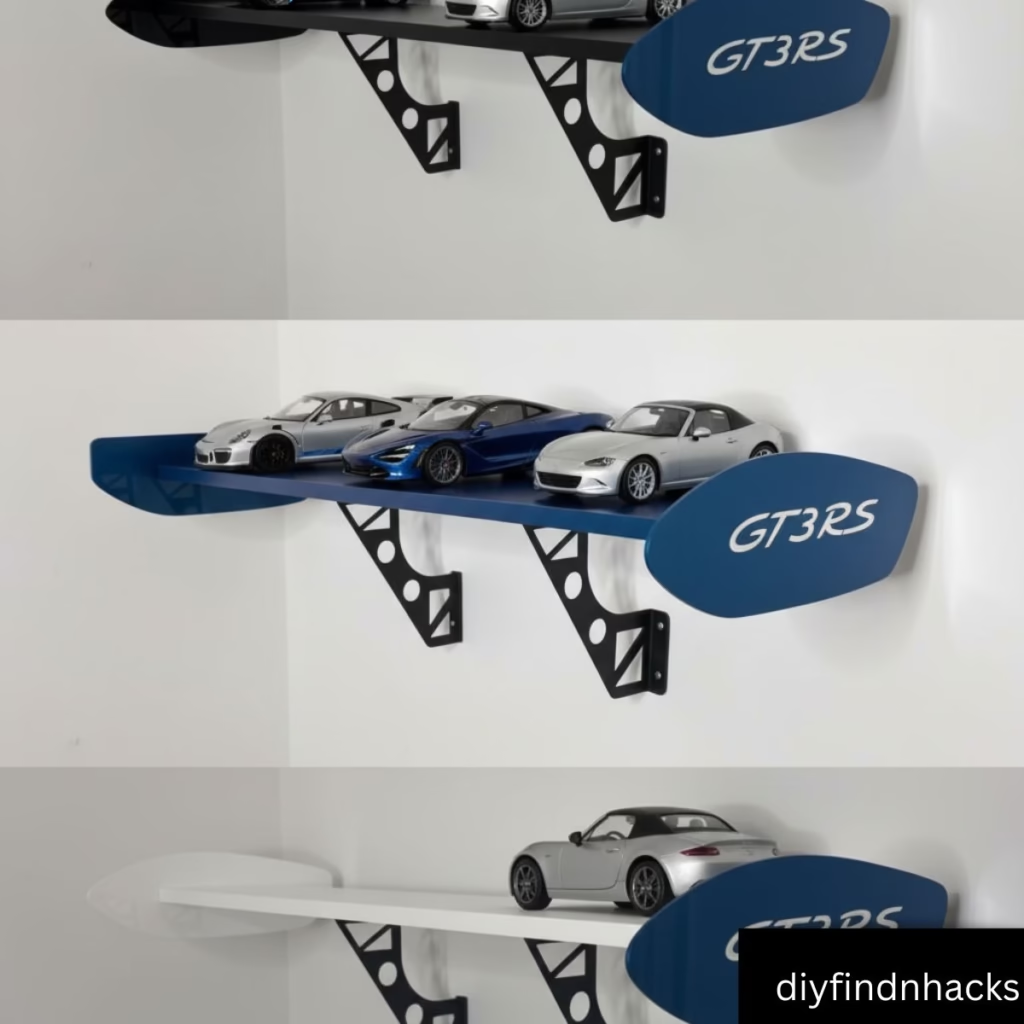
A spoiler—the same one you see on sports cars—can be flipped into a wall-mounted shelf that’s both functional and a head-turning piece of decor.
Table of Contents
Why Build a DIY Car Spoiler Shelf?
For many, cars aren’t just vehicles; they’re an identity, a lifestyle, and sometimes, even therapy. But instead of just parking the passion in your garage, why not bring it into your living space?
- Unique Statement Piece: A spoiler shelf instantly tells people that you’re a car enthusiast.
- Functional Storage: Beyond aesthetics, it works as a sturdy shelf for books, collectibles, or even your favorite die-cast car models.
- Budget-Friendly: Buying car-themed furniture can be expensive. Making it yourself is affordable and customizable.
- Man Cave or Gaming Room Ready: It fits perfectly into spaces where cars, gaming, or hobbies collide.
Tools & Materials You’ll Need
- A car spoiler (replica or aftermarket spoiler works fine)
- Wall brackets (heavy-duty recommended)
- Drill & screws
- Measuring tape & level
- Sandpaper (if refinishing)
- Spray paint or decals (optional for styling)
💡 Pro Tip: You can find cheap spoilers in scrap yards, car modification shops, or even order replicas online for under ₹2,000–₹5,000 depending on the model.
Step-by-Step DIY Car Spoiler Shelf Tutorial
Step 1 – Measure and Mark the Wall
Choose the spot carefully. Ideally, place the shelf at eye level so it can shine as both decor and a functional surface. Use a measuring tape and level to mark where the brackets will go.
Step 2 – Prepare the Spoiler
If the spoiler is second-hand, clean it thoroughly. Sand it down if there are scratches or dents. Want to make it pop? Spray-paint it in black, silver, or match the original car theme. Stickers or GT3RS-style decals can add an authentic racing feel.
Step 3 – Install the Brackets
Drill into the wall and secure the brackets with heavy-duty screws. Always anchor into wall studs if possible—this ensures the shelf can hold weight without wobbling.
Step 4 – Mount the Spoiler
Attach the spoiler securely onto the brackets. Double-check alignment so it sits perfectly straight. This is where your level tool becomes your best friend.
Step 5 – Style Your Shelf
Now comes the fun part. You can display:
- Die-cast models of cars
- Books, helmets, or even gaming gear
- LED strips under the spoiler for that neon glow effect
Styling Ideas for Your Car Spoiler Shelf
- Place it above your desk for a motorsport-themed work corner.
- Use it in your gaming room with RGB lights for a futuristic vibe.
- Turn it into a showcase shelf for miniature car collectibles.
💡 Insider Tip: Pair it with racing posters, license plate art, or neon wall signs to create a complete car-lover’s corner.
Alternatives and Variations
- Tires turned into round shelves
- Rims mounted as wall decor
- Bumpers as quirky storage racks
Final Thoughts
The DIY car spoiler shelf is more than just a quirky Pinterest trend—it’s a way to showcase your love for cars while adding practical style to your space. Affordable, customizable, and eye-catching, it’s the perfect weekend project for anyone who lives life in the fast lane.
read more: Epic Gaming Room Ideas with Cloud Ceiling & LED Magic


